Making gluten free sourdough bread with a clay bread baker
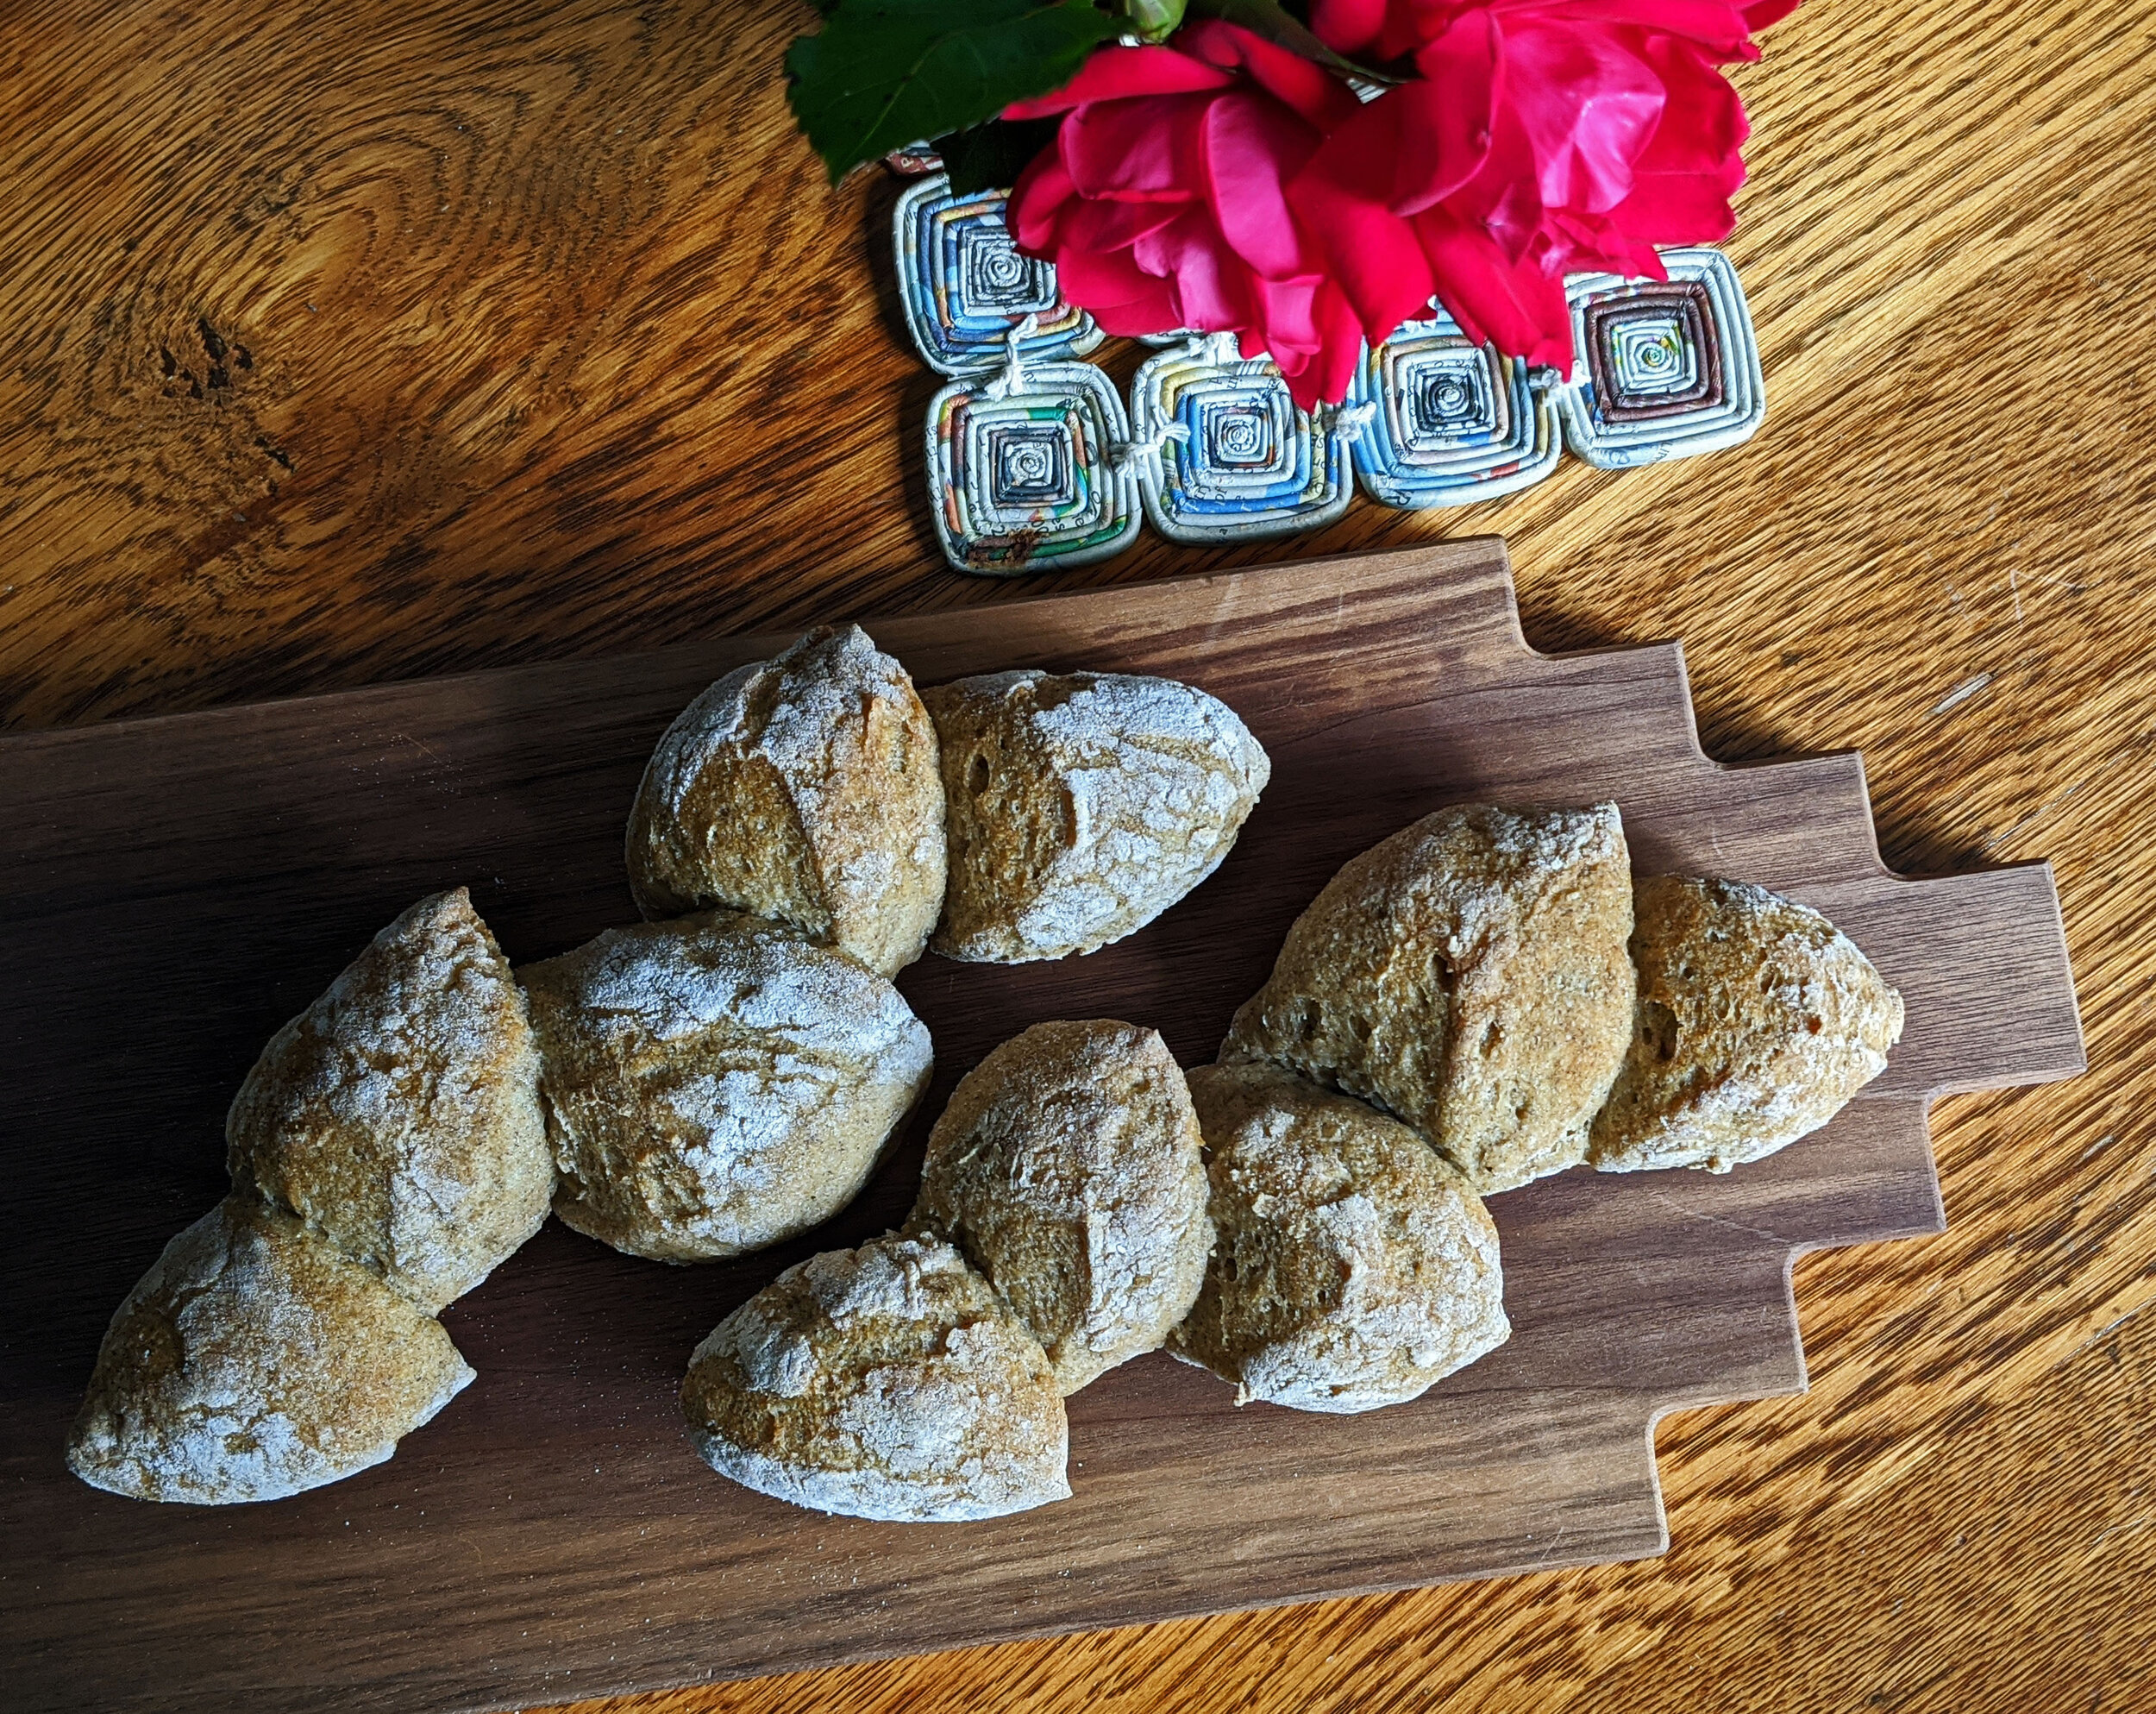
Gluten free sourdough pain d’epi
Like everyone in the US right now I am making sourdough bread at home. I started my sourdough starter this winter so it was healthy and ready to go by the time our North Carolina stay-at-home order went into effect. I’ve always loved baking and have made bread before but this is my favorite version so far. There are two ways in which my dough and process are different than most:
My starter and flours are all gluten free. I was diagnosed with celiac disease a decade ago and have been on a strict gluten free diet ever since. At times, gluten free baking feels like baking with one arm tied behind my back. It is truly challenging. As time goes by I’m enjoying that challenge more and am proud of the results I’ve had, albeit with many trials and errors.
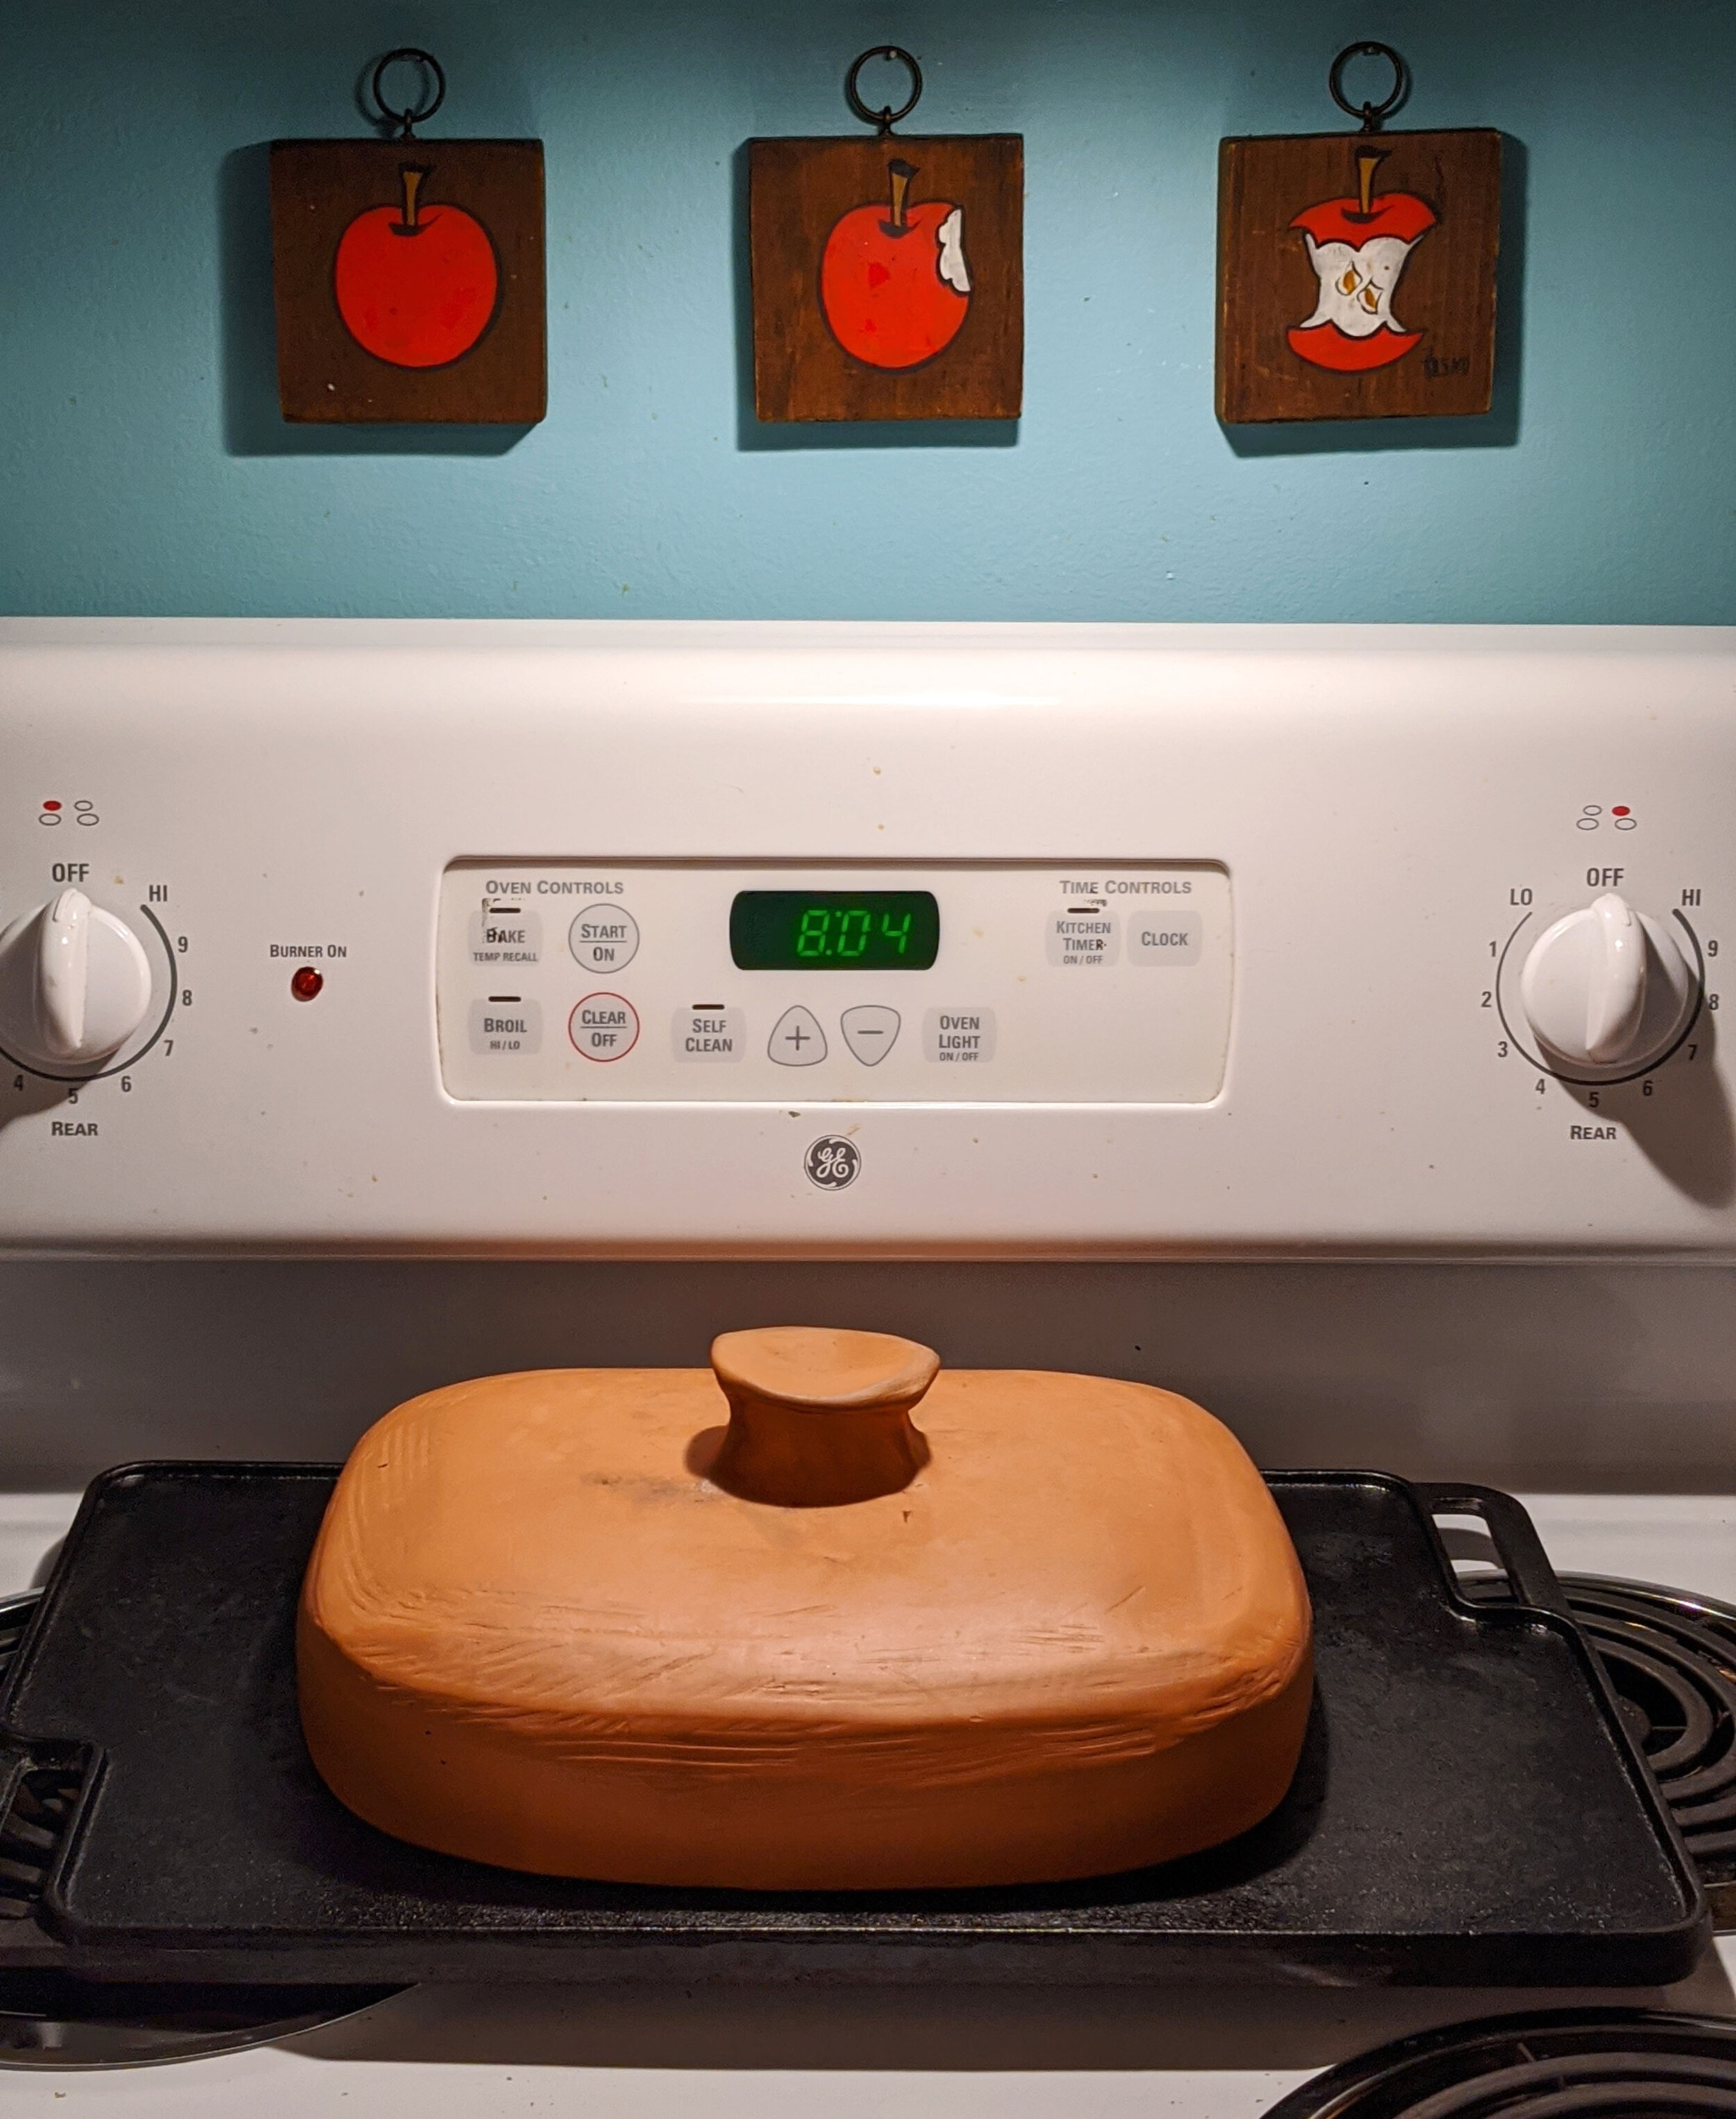
I now use a clay bread baker that I made in my studio. Getting a crispy, crackling crust on bread requires steam while baking. There are various ways to surround the bread with steam in the oven but the easiest is trapping the bread’s own steam around it. I’ve used a cast iron dutch oven for round boule bread but that shape does not work for baguettes and rolls. So, I made my own rectangular lid with a handle to place on top of the bread. I’m quite pleased with the crusts created by this homemade bread baking lid!
I want to share my process and tips with you in case this is something you’ve wanted to try. Bread baking can be really intimidating. You really do have to go through a few dense, hard loaves to get to the good stuff. You learn as you go and get a better “feel” for the dough and timing. Use those first loaves make croutons or breadcrumbs. The bar is so low for gluten free bread that anything homemade beats the stuff in the freezer at the grocery store.
The starter
I found this gluten free sourdough starter from Cultures for Health at the Durham Co-op. You can also order it online. It takes a week or so to wake it up, feed it, and get it bubbling enough for baking bread. They have so many recipes and how-to videos and articles on their website. It’s a great resource. I’m also a fan of these muffins made with the same sourdough starter.
The recipe
This is my favorite gluten free sourdough recipe so far: Gluten Free Boule from Holy Cow Vegan. It is vegan and therefore doesn’t require eggs. Like all good gluten free recipes it requires a blend of multiple flours- that’s just the way it is, folks. I’m able to get a softer bread inside a thinner crust and it makes lovely short baguettes for bahn mi. I have changed up some of the proportions and use this nerdy spreadsheet to calculate the ingredients according to how much starter I have available to use. I openly love Excel spreadsheets. I have also modified the recipe to make variations like pita bread and pizza crust according to techniques from my favorite gluten free bread manual, Gluten-Free Artisan Bread in Five Minutes a Day. If you just want to make gluten free bread with regular yeast so you don’t have to bother with sourdough, I highly recommend this book!
The ingredients
Finding the gluten free flours I need can be a challenge on any day, but it has become particularly “interesting” during this pandemic. I’ve found that I can make a few substitutions if I have to without too much consequence according to these rules. First, these starches are mostly interchangeable: tapioca, potato, and corn, with tapioca being my preferred starch for bread. Second, grainy, gritty flours can be substituted for each other: rice flour, sorghum flour, millet flour. For binding agents I have used both guar gum and xanthan gum, but you need twice the amount of guar as you would for xanthan (e.g. 2 tsp guar = 1 tsp xanthan). Pro tip: if you can’t find millet, sorghum, or rice flour, you can buy the grains whole and grind them up in a blender or spice grinder. I use our cheap smoothie blender and it works just fine.
Clay bread baker made by Waxing Gibbous Pottery on a rectangular cast iron griddle
The equipment
First, I want to say that everyone should have a digital food scale in their kitchen. They are so useful for good baking, making pourover coffee, and weighing packages for buying postage online. They are not expensive and I’ve even found working ones at thrift stores. It is handy but not essential to have a sturdy stand mixer when making gluten free bread. I like to let the dough rise in a glass or ceramic bowl because they say metal can interfere with sourdough fermentation. I use a Silpat sprinkled with rice flour for forming loaves and then move them over to parchment paper, which I always have on hand. It helps for quick transfers from a cookie sheet to the baking stone in the oven. Some sort of baking stone is crucial for getting a good rise from “oven spring” when baking. You need something dense and thick that will retain heat to create oven spring. There are clay baking stones out there but I use a rectangular cast iron griddle. Last but not least, you need some vehicle for trapping steam in the oven around the bread. I am proud to use my own rectangular clay “cloche” and find it traps steam well. In a pinch you can also place a metal pie pan or baking dish in the hot oven and pour water into it. If your oven thermostat is of questionable reliability like mine, buy an oven thermometer to put in there. They cost very little and you may find out your oven temperature was a lie all along. Mine can be 50 degrees off sometimes!
The method
Here are some pointers on techniques that have helped me make better bread. First, you have to give the dough a very long time to rise, at least 6 hours but preferably 12 or more. Sourdough works to leaven bread more slowly than instant yeast. At first it seems like the dough will never do anything, then you go to bed and wake up the next morning to doubled, risen dough. Second, let the dough rise first in one big bowl before shaping it into loaves. Expect this to be a very wet dough compared to other bread dough. You need to use rice flour on your hands and on the surface you use for shaping the dough. Touch the dough as little as possible when forming the loaves. The more you touch the sticky, risen dough, the more you will compress the air bubbles inside that will give it lift. I like to pull out a big lump of dough and gently pat it into a thick coil, using plenty of dusting flour. The flexible Silpat can be used to roll it back and forth and help shape it into a coil to make baguettes or pain d’epi. I gently roll the fat coil off of the Silpat onto a piece of parchment paper placed on a rimless cookie sheet. The final shaping takes place on this parchment paper, whether I’m slashing the tops for baguettes, patting them into oblong bahn mi buns, or cutting it into a “pain d’epi”, my favorite shape.
Preheat the baking stone and clay baker while you preheat the oven. During baking, cover the loaves with the clay baker for the first two-thirds of the baking time, then remove it for the final third. I usually bake baguette-sized bread for about 18-20 minutes total, until is is browned on the bottom. Place the bread on a wire baking rack to cool and let it cool completely before cutting, as cutting gluten free bread too early ruins the texture and makes it gummy.
Last words
If this seems like a lot, it is. It’s not something I do frequently during my normal life and work routine. However, after now spending over a month out of that routine, making bread once or twice a week has become a cherished marker of time for me. If you’re curious about starting your own gluten free bread journey, go for it! Leave room for mistakes as you learn and just enjoy using your five senses to make something new. Reach out to me with questions and add your own hard-earned bread baking advice in the comments below. If you are interested in having your own clay bread baker, I would be happy to custom make one. Just email me.
Until this pandemic is over, I am trying to embrace the time I have- time to experiment, time to play, time to consider the fast lives we all live, time to just be. Sending warm virtual hugs covered in clay and rice flour!
Katie
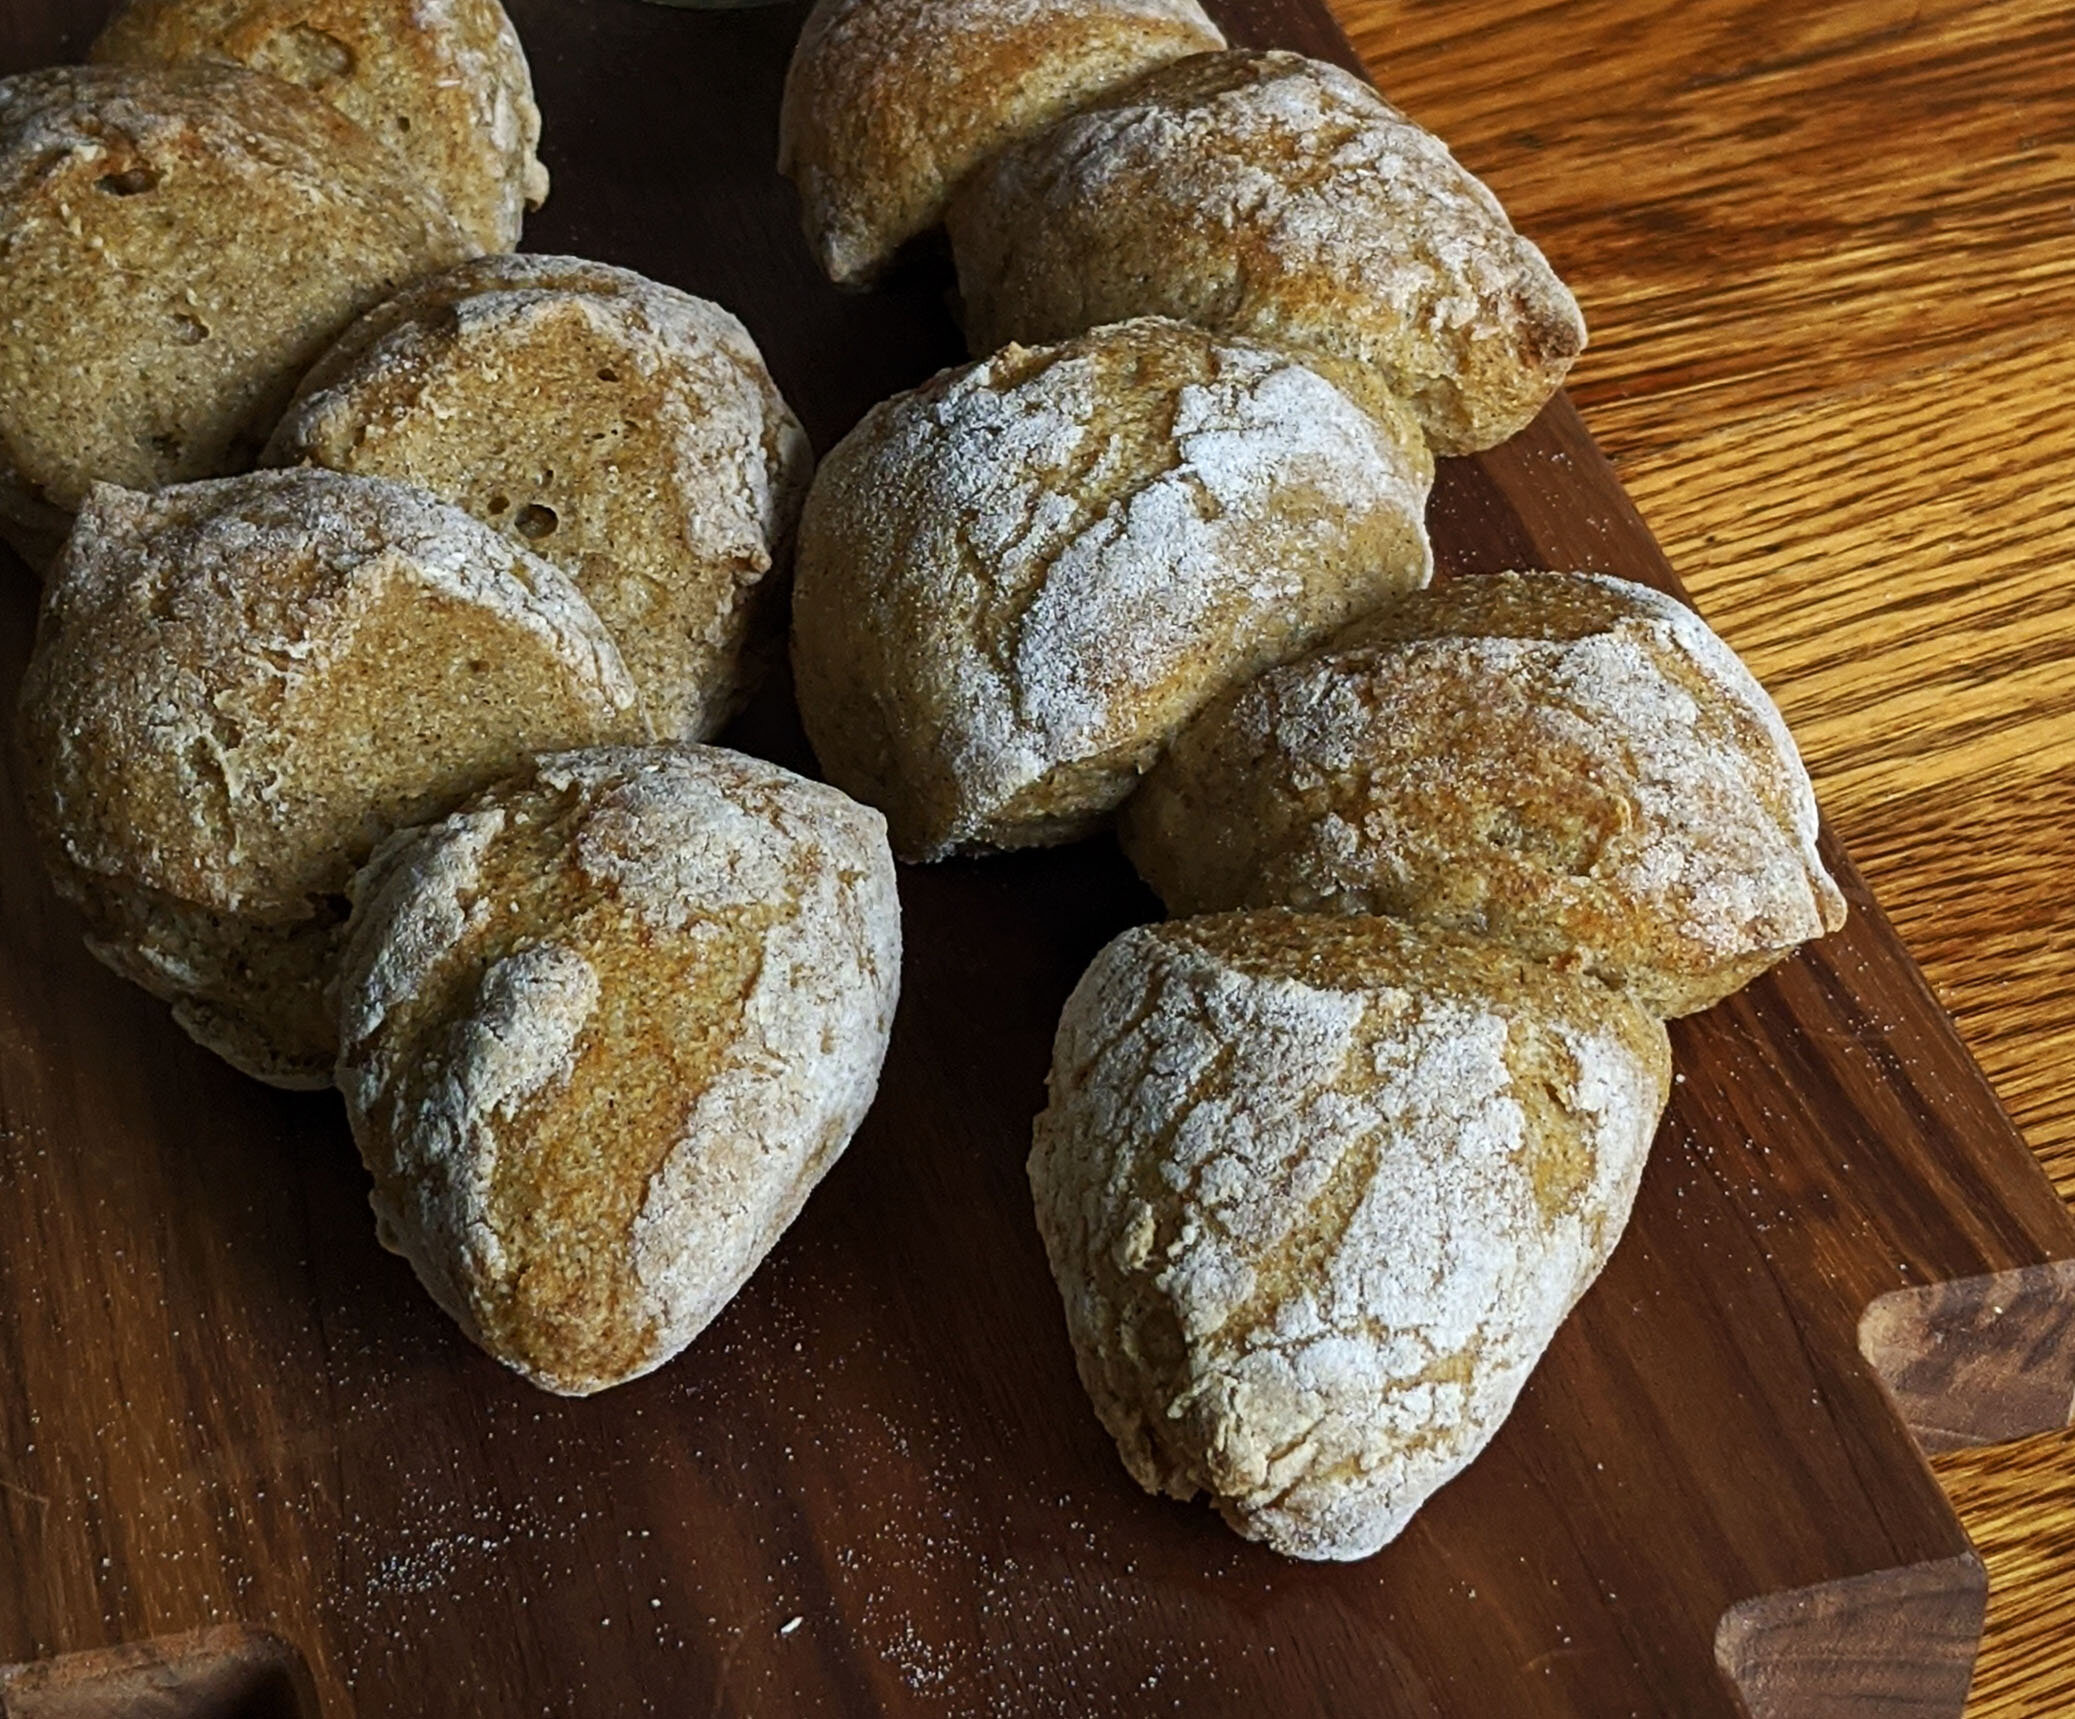
gluten free sourdough goodness made the slow way


